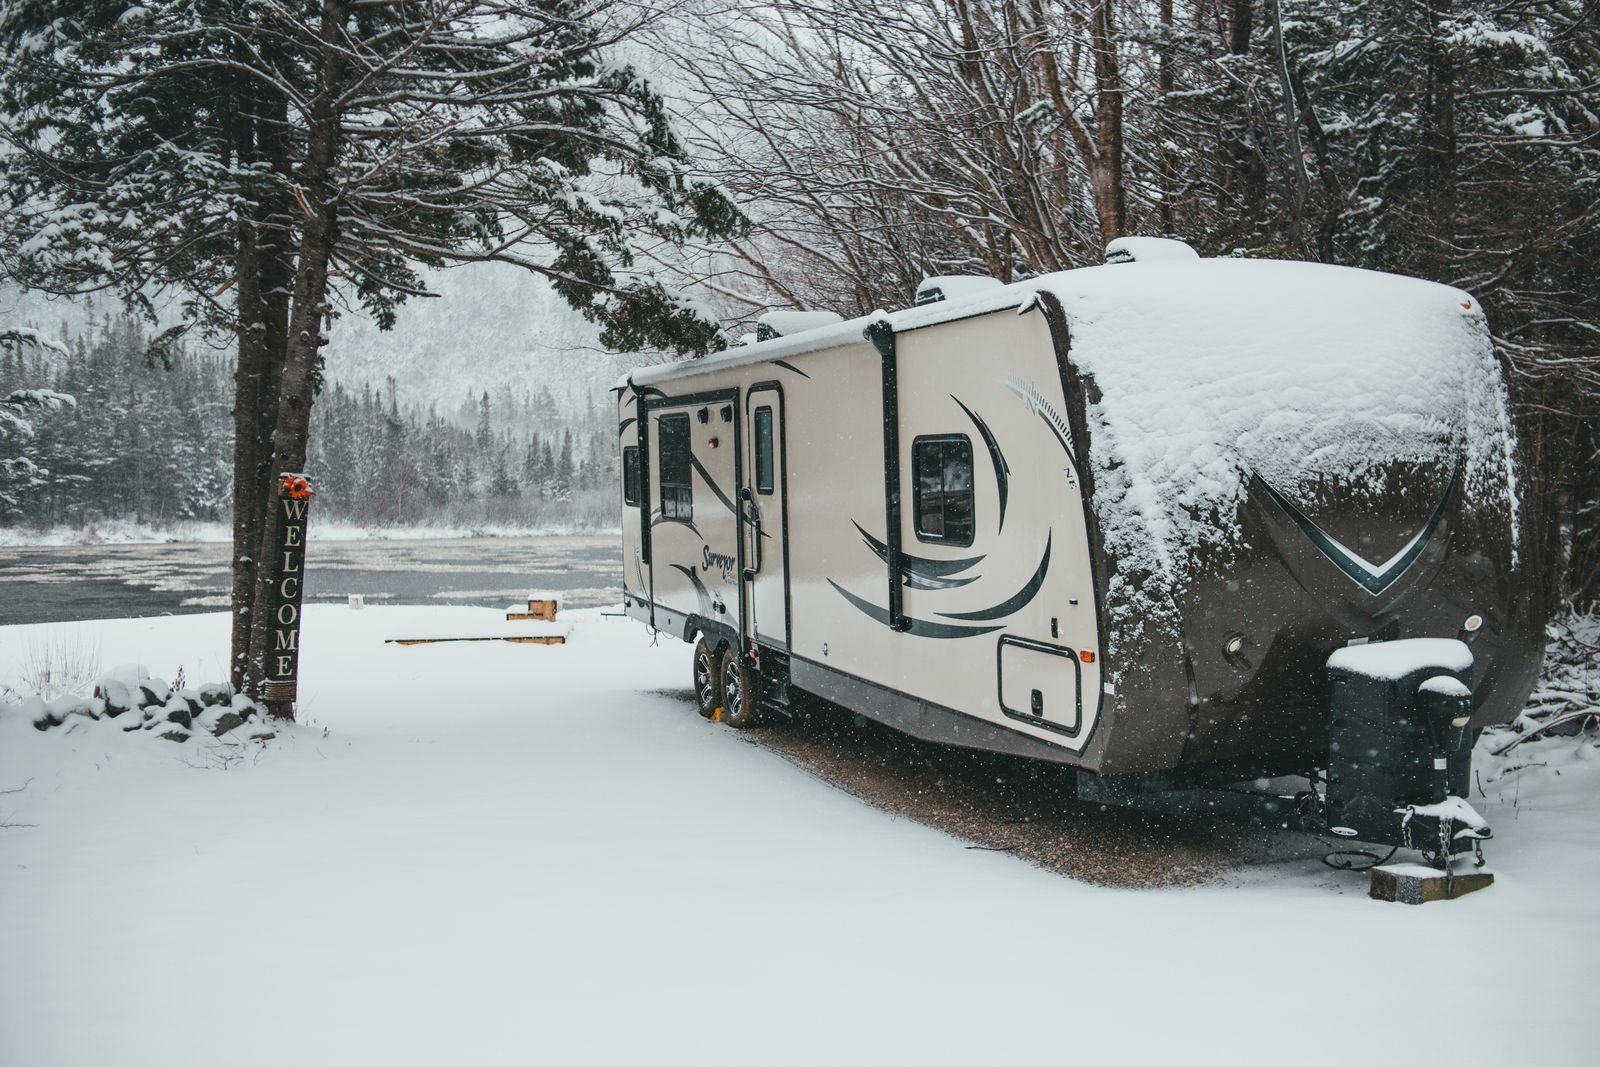
It only takes one hard freeze. Water left in your RV’s pipes freezes, swells up, and cracks the lines, the water pump, or the water heater. You won’t know until spring, when you turn on the water and find a leak under the floor.
Winterizing means getting the water out, and protecting the pipes, before freezing weather hits. It’s one of the most important jobs an RV owner does every year. And most people can do it themselves in an hour or two.
Do you need to winterize?
If your RV will sit somewhere that gets below freezing, yes. Even here in Arizona, the high country around Flagstaff and the White Mountains gets plenty cold. If you’re storing your RV up north, or taking it somewhere cold, plan on it.
If you live in your RV through the winter, that’s a different job. You’d keep the heat on and protect your hoses and tanks instead.
Read your owner’s manual first
Every RV is a little different. Your manual will tell you where your drains, valves, and water heater bypass are. Some RVs have a built-in winterizing setup that makes it much easier. Take a few minutes to find these parts before you start.
What you’ll need
- RV antifreeze (the pink kind). Usually a few gallons is plenty, depending on your RV.
- A water heater bypass kit, if your RV doesn’t already have one
- A pump converter or siphon kit, if your RV doesn’t have a built-in winterizing hookup
- Basic tools for your water heater’s drain plug
- Gloves
Important: Only use RV antifreeze. Never use car antifreeze in your water lines. Car antifreeze is poison.
Step 1: Drain the water
- Turn off the water heater and let it cool down. Never drain hot water.
- Dump and rinse your black and gray tanks.
- Drain the fresh water tank.
- Drain the water heater. Open the pressure relief valve on top, then take out the drain plug or anode rod. Let it drain all the way.
- Open the low point drains. These are small drain lines under the RV, one for hot and one for cold. Let them drain, then close them.
- Open all the faucets, hot and cold, and the shower, to let the last water out. Then close them.
Step 2: Bypass the water heater
Turn the water heater bypass valves so the water heater is skipped. If you don’t, you’ll fill the whole water heater with antifreeze. That wastes a lot of it.
Step 3: Add the antifreeze
- Hook the siphon tube or winterizing hookup to your jug of RV antifreeze.
- Turn on the water pump.
- Go to each faucet, one at a time. Open the cold side until pink antifreeze comes out. Close it. Then do the hot side. Start with the faucet closest to the pump, then work your way to the farthest one.
- Don’t forget the shower, the outside shower if you have one, and the toilet. Flush the toilet until you see pink.
- Turn off the pump.
Step 4: Protect the drains
Pour a cup or two of antifreeze down each sink and shower drain, and into the toilet. This protects the drain traps from cracking.
If your RV has an ice maker, washer, or other water parts, check your manual for how to winterize them.
Another way: blowing out the lines
Some people use an air compressor to blow the water out of the lines instead of using antifreeze, or before adding it. You need an adapter for your city water inlet, and you must keep the air pressure low so you don’t damage the lines. Check your manual for the right pressure. Many owners use air first, then antifreeze, for extra protection.
Before you store it
- Take care of the batteries. Charge them all the way. Either keep them on a battery maintainer, or take them out and store them somewhere that won’t freeze.
- Keep mice out. Clean out all food. Seal up small holes where pipes and wires come through. Mice love a parked RV.
- Prop the fridge door open a little so it doesn’t get moldy.
- Cover the RV, or at least the tires, if it will sit outside in the sun and weather.
In the spring
To get your RV ready again, you’ll flush the antifreeze out with fresh water, put the water heater plug back in, switch the bypass back, and sanitize the fresh water system. We’ll cover that in its own post.
When to call a pro
If you’re not sure where your drains and valves are, or you don’t want to mess with it, many RV shops winterize for a set fee. It costs a lot less than fixing frozen pipes.
Next step: See more how-to help in our Fixing Your RV section.