Tag: Top Rated

  • What Gear Do You Need for Your First RV Trip? (Checklist)

    What Gear Do You Need for Your First RV Trip? (Checklist)

    You picked up your RV, drove it home, and parked it in the driveway. Now you’re standing there wondering what else you need.

    A lot of new owners find this out the hard way. Most RVs don’t come ready to camp. The dealer may toss in a starter kit, but it’s usually the cheap stuff. Some of the most important gear you have to buy yourself.

    This list covers what you need for a first trip. You don’t need everything in the store. Start with these, then add more as you learn how you like to camp.

    Water gear

    A drinking water hose. Get one made for drinking water. They’re usually white or blue and say “drinking water safe.” Don’t use a regular garden hose. Keep this hose only for fresh water.

    A water pressure regulator. It screws on where the hose meets the campground faucet. Some campgrounds have strong water pressure that can damage your RV’s pipes. This little part protects them.

    A water filter. It helps with bad taste, smell, and sediment. Campground water can vary a lot from place to place.

    Sewer gear

    A sewer hose kit. This is how your tanks drain into the campground’s dump. Get a good, thick one with the fittings included. Cheap thin hoses tear, and you do not want that to happen.

    Disposable gloves. Keep a box near your sewer gear. Use them every time.

    RV toilet paper and tank treatment. RV toilet paper breaks down quickly so it doesn’t clog your tank. Tank treatment helps with smell.

    A separate hose for rinsing. Use a different colored hose for rinsing out sewer stuff. Never use your drinking water hose for this.

    Power gear

    A surge protector. This one matters. Campground power can spike or drop, and that can fry the electronics in your RV. A surge protector plugs in between the campground pedestal and your power cord. Some models, often called an EMS, also cut the power if the voltage gets too high or too low.

    Power adapters. Campgrounds have 30 amp and 50 amp hookups, and sometimes regular household plugs. An adapter lets you plug in no matter which one your site has. Know which kind your RV uses.

    Leveling and parking gear

    Leveling blocks. Most campsites aren’t flat. Blocks go under your tires to level the RV. A level RV sleeps better, and your fridge works better too.

    Wheel chocks. They keep your trailer from rolling, mostly when you unhook it from the truck.

    A small level. Some people stick a bubble level on the front and side of the RV so they can see it while parking.

    Safety gear

    • A fire extinguisher. Most RVs come with one. Check that yours is there and charged.
    • A first aid kit.
    • A tire pressure gauge. Check your tires before every trip. Low tire pressure is a common cause of blowouts.
    • A flashlight or headlamp. You’ll use it more than you think, especially hooking up after dark.
    • Smoke, carbon monoxide, and propane detectors. Your RV should have them. Test them before you go.

    A basic tool bag

    You don’t need a full shop. A small bag with these handles most little problems:

    • Screwdrivers, including a square-bit one (lots of RV screws use them)
    • Pliers and a small adjustable wrench
    • Duct tape and zip ties
    • A tape measure
    • Work gloves

    Kitchen and camp stuff

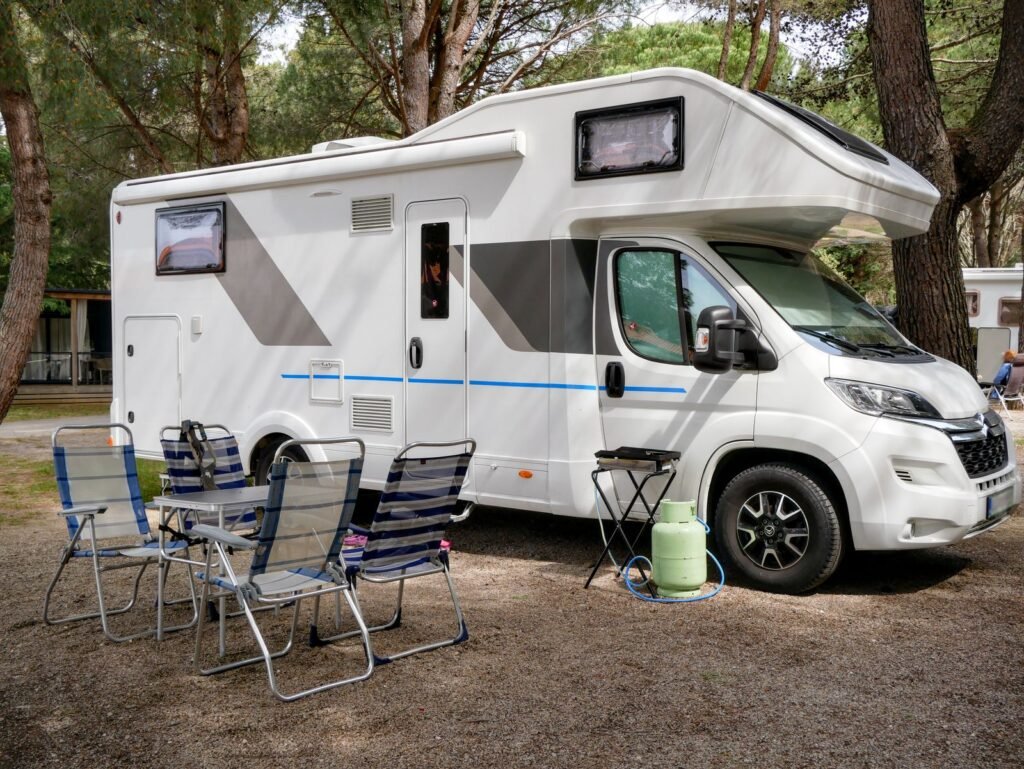
    Motorhome at a campsite with folding chairs and a table set up outside
    Photo from Pexels

    Keep it simple your first time. Bring what you’d use at home, but less of it.

    • A couple of pots and a pan
    • Plates, cups, and utensils
    • Paper towels and trash bags
    • Dish soap and a sponge
    • Camp chairs
    • A simple outdoor mat for outside your door

    A good tip is to buy separate kitchen stuff just for the RV. That way it stays packed, and you don’t forget anything.

    What you can wait on

    Lots of gear is nice but not needed on day one: outdoor kitchens, fancy grills, satellite dishes, and big gadgets. Take a few trips first. You’ll quickly learn what you wish you had, and you won’t waste money on stuff you never use.

    One more tip

    Make a checklist and keep it in the RV. Before every trip, go down the list. After a few trips, you’ll add your own items to it. It saves a lot of “Oh no, we forgot the…” moments.

    Next step: Before your first trip, read how to dump your RV tanks. You’ll need it.
  • How to Find and Fix a Leak in Your RV Roof

    How to Find and Fix a Leak in Your RV Roof

    You wake up, look at the ceiling, and there it is. A brown stain that wasn’t there last month. Or you step near the bathroom and the floor feels a little soft.

    Water is the number one enemy of an RV. A small drip you can’t see can soak into the walls and floor for months before you notice. By then the wood underneath can be rotten.

    The good news is most roof leaks start small and are easy to fix if you catch them early.

    Signs you have a leak

    • Stains or spots on the ceiling or walls
    • Peeling wallpaper or bubbling around windows and vents
    • Soft or spongy spots in the ceiling, walls, or floor
    • A musty or moldy smell
    • Wavy or bubbled outside walls
    • Water dripping, of course, but don’t wait for that

    Know your roof first

    Before you climb up or buy anything, find out what kind of roof you have. Your owner’s manual will say. The most common are:

    • Rubber (EPDM). Usually white or gray, a little soft to the touch.
    • TPO. Looks a lot like rubber but is a bit harder and shinier.
    • Fiberglass. Hard and smooth.
    • Aluminum. Metal, mostly on older RVs.

    This matters because sealants are made for certain roof types. The wrong one won’t stick, or it can damage the roof.

    Also check if your roof is safe to walk on. Some are, and some aren’t. The manual will tell you.

    Be safe up there

    • Use a sturdy ladder on flat ground.
    • Have someone with you.
    • Don’t go up when it’s wet, windy, or very hot.
    • Step only where the roof is made to hold you. Stay off skylights and vents.

    If you’re not comfortable on the roof, that’s fine. Pay an RV tech. A fall is a lot worse than a repair bill.

    Find where the water gets in

    Water usually shows up inside in a different spot than where it gets in. It runs along the roof and down inside the walls. So look above the stain and all around it.

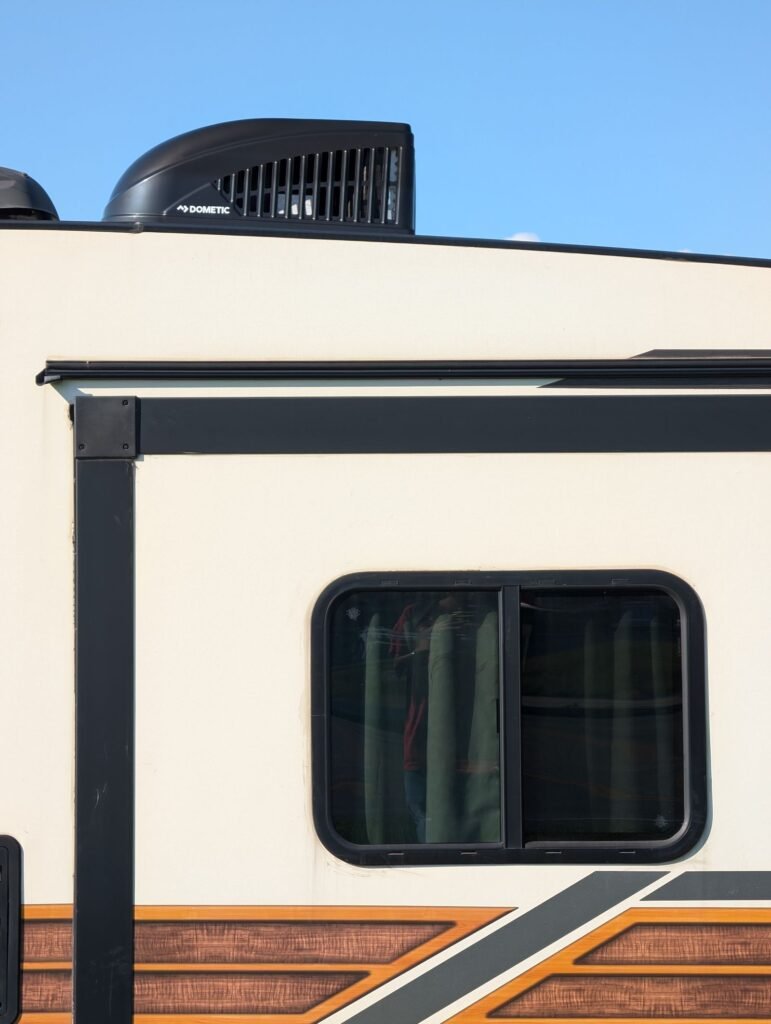
    RV air conditioner unit on the roof edge above a window
    Photo from Pexels

    Check these spots first, because this is where most leaks start:

    • Seams along the edges of the roof
    • Around roof vents and fans
    • Around the air conditioner
    • Around skylights
    • Antennas, satellite dishes, and anything screwed into the roof
    • The front and back caps where they meet the roof
    • Windows, lights, and trim on the sides of the RV

    Look for sealant that’s cracked, peeling, shrunk away from the edge, or missing.

    If you can’t find it, a helper inside and a garden hose outside can help. Spray one small area at a time, low pressure, starting low on the roof and moving up. Have your helper watch inside for drips.

    How to seal it

    For most small leaks around vents and seams, here’s the basic fix:

    1. Clean the area. Use a cleaner that’s safe for your roof type. Let it dry all the way.
    2. Remove loose sealant. Scrape off anything cracked or peeling with a plastic scraper. Don’t cut into the roof.
    3. Use the right sealant. On flat spots, use a self-leveling lap sealant made for your roof type. Dicor is a common brand. On walls and edges, use a non-sag sealant so it doesn’t run down.
    4. Cover it well. Lay a good bead over the seam or around the vent and past the edges of the old crack.
    5. For long seams, think about seam tape. Products like EternaBond tape cover a seam and hold up well. Clean the area first, and press it down firmly.

    Don’t use regular silicone caulk on an RV roof. It doesn’t hold well on most RV roofs, and new sealant won’t stick to it later. You’ll end up scraping it all off.

    When to call a pro

    Call an RV repair shop if:

    • The ceiling, walls, or floor are soft
    • The outside wall is bubbling or wavy
    • You see mold
    • You can’t find the leak

    Those can mean water has already gotten into the wood or the wall. Sealing the outside won’t fix rot inside. The sooner it’s fixed, the less it costs.

    Stop leaks before they start

    The best fix is the one you never have to make.

    • Check your roof often. At least a couple of times a year, and before and after a big trip.
    • Touch up sealant as soon as you see cracks.
    • Keep it clean. Leaves and dirt hold water on the roof.
    • Cover it or park it under a cover if you can, out of the sun and weather.
    • Look up inside, too. Glance at your ceiling corners every time you camp.

    A few minutes on the roof now can save you thousands later.

    Next step: See more how-to help in our Fixing Your RV section.

  • What to Know Before You Buy Your First RV

    What to Know Before You Buy Your First RV

    You’ve seen the pictures. Coffee outside the camper door. A lake out the window. No hotel check-in.

    Then you walk onto an RV lot and it gets confusing fast. Hundreds of floor plans. Words you’ve never heard. A salesperson who wants an answer today.

    Slow down. An RV is one of the biggest things most people ever buy, after a house and maybe a truck. A little homework now saves you a lot of money and headaches later.

    Start with how you’ll use it

    Picture your trips before you picture the RV.

    • Will you go out a few weekends a year, or for weeks at a time?
    • Who’s coming? Just the two of you, or kids, grandkids, and the dog?
    • Do you want campgrounds with power and water, or quiet spots out in the desert with no hookups?
    • How far will you drive in a day?

    Be honest here. A lot of folks buy for the dream trip they’ll take once, and then haul too much RV around on every short weekend.

    Know the main types

    Motorhomes have the engine built in. You drive them like a big vehicle.

    • Class A is the bus-style one. Lots of room, but big to drive and park.
    • Class C has the bed over the cab. A good middle size.
    • Class B is a camper van. Easy to drive, but tight inside.

    Towables hook to your truck or SUV.

    • Travel trailers pull with a regular bumper hitch.
    • Fifth wheels hook into the bed of a pickup. They tow steady, but you need the right truck.
    • Pop-ups and small trailers are light and cheaper, with fewer comforts.

    With a towable, you can unhook and drive your truck around town. With a motorhome, you’ll want a small car behind it, or you’ll be driving the whole rig to the grocery store.

    Check what your truck can safely pull

    If you want a trailer, this is the big one. Every truck has a towing limit. You’ll find it in the owner’s manual or on the sticker inside the driver’s door.

    Don’t go by what the salesperson says your truck can tow. Look at the real weight of the trailer when it’s loaded with water, food, gear, and people. A trailer that’s right at your truck’s limit is hard on the truck and scary on the highway. Leave yourself some room.

    Add up the real cost

    The sticker price is just the start. Plan for these too:

    • Insurance
    • Storage, if you can’t park it at home (check your HOA rules first)
    • Fuel, and RVs use a lot of it
    • Campground fees
    • Tires, batteries, and regular upkeep
    • Repairs, because something always needs fixing
    • Gear: hoses, levelers, a surge protector, kitchen stuff

    Also know that RVs lose value fast, mostly in the first few years. Loans can stretch out for many years, so it’s easy to owe more than the RV is worth. Put down what you can, and don’t stretch the budget for a bigger model.

    Live in the floor plan for a minute

    At the dealer or an RV show, don’t just walk through. Sit down. Lie on the bed. Stand in the shower. Pretend to cook dinner.

    Ask yourself:

    • Can you reach the bathroom with the slides pulled in? You’ll need it at rest stops.
    • Is there a place to sit and eat that doesn’t turn into a bed every night?
    • Where will your stuff go?
    • Can two people pass each other in the hallway?

    Slide-outs give you more room. They’re also one more thing that can break. Fewer slides can mean fewer problems.

    Rent before you buy

    This is the best advice we can give. Rent an RV like the one you want for a weekend or a week. You’ll learn more in three days than in three months of looking online.

    You’ll find out if you like the size, if you hate backing up, and if the bed is big enough. It costs a little now and can save you from a very expensive mistake.

    Get it inspected

    New or used, have it checked before you sign. On a new RV, do a slow walk-through with the dealer and test everything: lights, water, fridge, AC, furnace, slides, and awning. Write down anything that’s wrong and get it fixed before you drive off.

    On a used one, pay an independent RV inspector. It’s money well spent. (We cover this more in our post on buying new vs. used.)

    Don’t let anyone rush you

    There will always be another RV, another sale, another “today only” price. The right RV is the one that fits how you camp and what you can afford. Take your time, and you’ll enjoy it a lot more.

    Next step: Read our post on buying a new or used RV before you start shopping.