
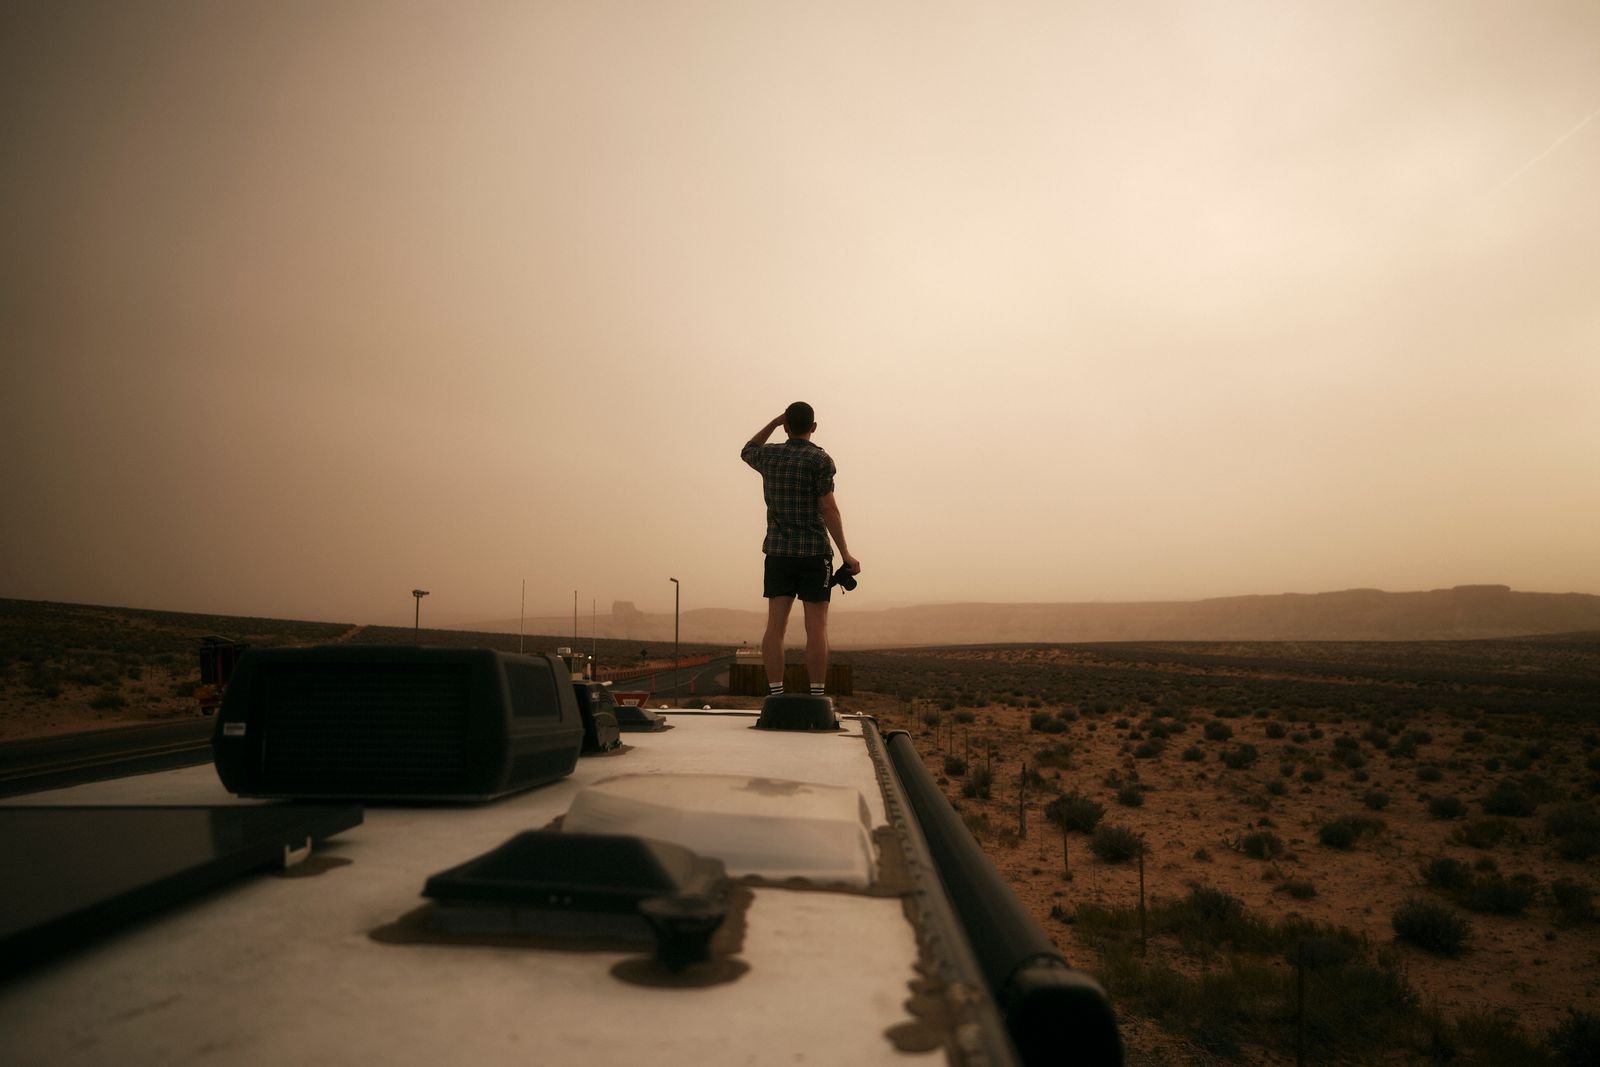
You wake up, look at the ceiling, and there it is. A brown stain that wasn’t there last month. Or you step near the bathroom and the floor feels a little soft.
Water is the number one enemy of an RV. A small drip you can’t see can soak into the walls and floor for months before you notice. By then the wood underneath can be rotten.
The good news is most roof leaks start small and are easy to fix if you catch them early.
Signs you have a leak
- Stains or spots on the ceiling or walls
- Peeling wallpaper or bubbling around windows and vents
- Soft or spongy spots in the ceiling, walls, or floor
- A musty or moldy smell
- Wavy or bubbled outside walls
- Water dripping, of course, but don’t wait for that
Know your roof first
Before you climb up or buy anything, find out what kind of roof you have. Your owner’s manual will say. The most common are:
- Rubber (EPDM). Usually white or gray, a little soft to the touch.
- TPO. Looks a lot like rubber but is a bit harder and shinier.
- Fiberglass. Hard and smooth.
- Aluminum. Metal, mostly on older RVs.
This matters because sealants are made for certain roof types. The wrong one won’t stick, or it can damage the roof.
Also check if your roof is safe to walk on. Some are, and some aren’t. The manual will tell you.
Be safe up there
- Use a sturdy ladder on flat ground.
- Have someone with you.
- Don’t go up when it’s wet, windy, or very hot.
- Step only where the roof is made to hold you. Stay off skylights and vents.
If you’re not comfortable on the roof, that’s fine. Pay an RV tech. A fall is a lot worse than a repair bill.
Find where the water gets in
Water usually shows up inside in a different spot than where it gets in. It runs along the roof and down inside the walls. So look above the stain and all around it.
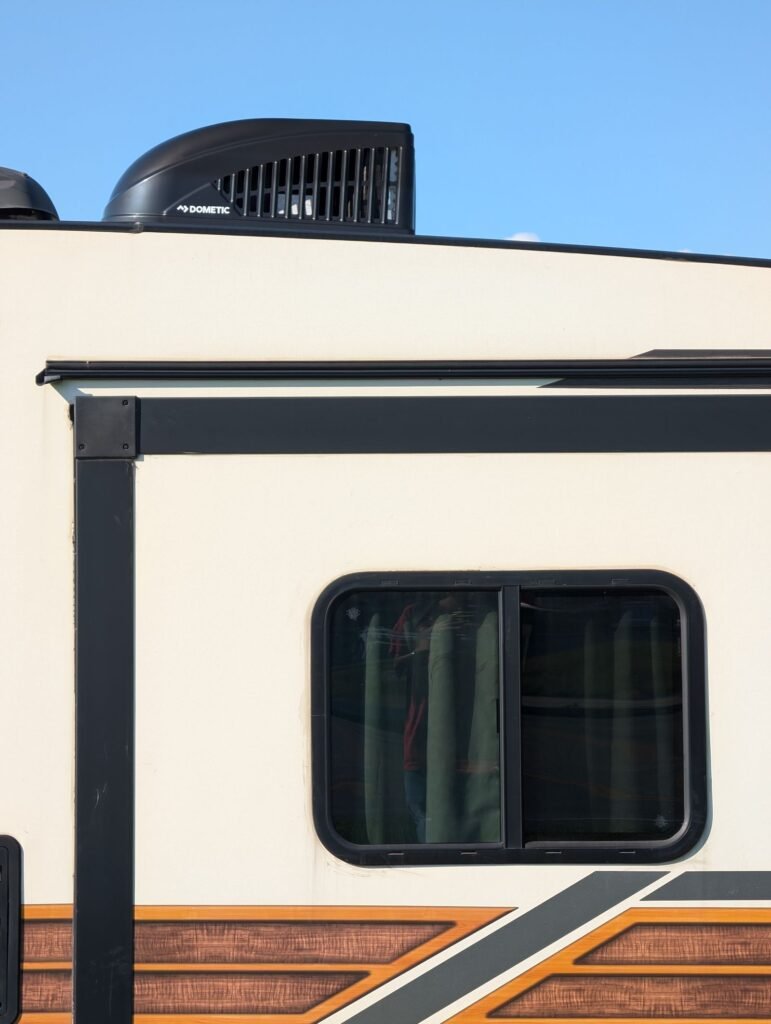
Check these spots first, because this is where most leaks start:
- Seams along the edges of the roof
- Around roof vents and fans
- Around the air conditioner
- Around skylights
- Antennas, satellite dishes, and anything screwed into the roof
- The front and back caps where they meet the roof
- Windows, lights, and trim on the sides of the RV
Look for sealant that’s cracked, peeling, shrunk away from the edge, or missing.
If you can’t find it, a helper inside and a garden hose outside can help. Spray one small area at a time, low pressure, starting low on the roof and moving up. Have your helper watch inside for drips.
How to seal it
For most small leaks around vents and seams, here’s the basic fix:
- Clean the area. Use a cleaner that’s safe for your roof type. Let it dry all the way.
- Remove loose sealant. Scrape off anything cracked or peeling with a plastic scraper. Don’t cut into the roof.
- Use the right sealant. On flat spots, use a self-leveling lap sealant made for your roof type. Dicor is a common brand. On walls and edges, use a non-sag sealant so it doesn’t run down.
- Cover it well. Lay a good bead over the seam or around the vent and past the edges of the old crack.
- For long seams, think about seam tape. Products like EternaBond tape cover a seam and hold up well. Clean the area first, and press it down firmly.
Don’t use regular silicone caulk on an RV roof. It doesn’t hold well on most RV roofs, and new sealant won’t stick to it later. You’ll end up scraping it all off.
When to call a pro
Call an RV repair shop if:
- The ceiling, walls, or floor are soft
- The outside wall is bubbling or wavy
- You see mold
- You can’t find the leak
Those can mean water has already gotten into the wood or the wall. Sealing the outside won’t fix rot inside. The sooner it’s fixed, the less it costs.
Stop leaks before they start
The best fix is the one you never have to make.
- Check your roof often. At least a couple of times a year, and before and after a big trip.
- Touch up sealant as soon as you see cracks.
- Keep it clean. Leaves and dirt hold water on the roof.
- Cover it or park it under a cover if you can, out of the sun and weather.
- Look up inside, too. Glance at your ceiling corners every time you camp.
A few minutes on the roof now can save you thousands later.
Next step: See more how-to help in our Fixing Your RV section.