Tag: Trending

  • How to Dump Your RV Black and Gray Tanks (Step by Step)

    How to Dump Your RV Black and Gray Tanks (Step by Step)

    Every new RV owner dreads this one. Let’s just say it: nobody buys an RV because they’re excited to empty the toilet tank.

    It’s easier than it sounds. Once you’ve done it a couple of times, it takes about ten minutes and it’s no big deal. Do it right and you won’t get anything on you. You also won’t have a smelly RV.

    Know your tanks

    Most RVs have three tanks:

    • Fresh water tank. Clean water for your sinks, shower, and toilet.
    • Gray water tank. Water from your sinks and shower.
    • Black water tank. Everything from the toilet.

    Some RVs have more than one gray tank. Your owner’s manual will show you where they are and where the valves are.

    The valves are usually handles you pull out to open and push in to close. They’re often near the sewer outlet on the side of the RV.

    What you need

    • A good sewer hose with fittings
    • Disposable gloves
    • A separate hose for rinsing (not your drinking water hose)
    • A clear elbow fitting is handy, so you can see when the water runs clean

    Step by step

    1. Put on your gloves. Every time.

    2. Make sure both valves are closed. Check before you take the cap off. If a valve was left open, you’ll find out the messy way.

    3. Hook up the sewer hose. Take the cap off the RV’s sewer outlet and attach the hose. Twist it until it locks. Put the other end firmly into the dump station or campground sewer hole. Many people put a rock or a weight on it so it can’t pop out.

    4. Dump the black tank first. Pull the black valve all the way open. You’ll hear it drain. Wait until it stops.

    5. Rinse the black tank if you can. Many RVs have a black tank flush hookup on the outside. Hook your rinse hose to it and run water until it comes out clear. If you don’t have one, you can fill the tank partway with water through the toilet, then drain it again.

    6. Close the black valve.

    7. Now dump the gray tank. Open the gray valve. The soapy gray water helps rinse the black water out of your sewer hose. That’s why you always do black first.

    8. Close the gray valve.

    9. Rinse and put away your hose. Rinse it out, drain it, cap the ends, and store it away from your fresh water gear.

    10. Put a little water back in the black tank. Flush the toilet a few times to put a few gallons back in, with a tank treatment if you use one. This helps keep things from drying and sticking to the bottom.

    11. Take off your gloves and wash your hands.

    Mistakes to avoid

    Don’t leave the black valve open at the campground. It seems easier when you have a sewer hookup. But the water drains out and the solids stay behind. They pile up and harden in the tank. Keep the black valve closed and dump it when it’s around two-thirds full.

    Use plenty of water. Water is what carries everything out. A tank that’s too dry can clog.

    Use RV toilet paper, or a toilet paper that breaks down fast. Regular thick toilet paper can clog the tank.

    Never put wipes in the toilet, even the ones that say flushable.

    Don’t trust the tank sensors too much. The gauges inside many RVs get confused and read “full” when they’re not, or the other way around. Get to know how long it takes your family to fill each tank.

    Watch your drinking water hose. Never use it to rinse sewer gear. Keep the two hoses apart.

    Where to dump if you’re not at a campground

    Lots of places have dump stations: many campgrounds, some truck stops and gas stations, and some RV dealers. Some are free and some charge a small fee. RV apps and websites list dump stations near you, so check before you head out.

    Never dump your tanks on the ground or down a storm drain. It’s illegal in most places and it’s bad for everybody.

    You’ve got this

    The first time feels like a big deal. By the third time, you won’t even think about it. Take it slow, follow the steps, and wear the gloves.

    Next step: Make sure you have the right gear with our first RV trip gear checklist.
  • How to Find and Fix a Leak in Your RV Roof

    How to Find and Fix a Leak in Your RV Roof

    You wake up, look at the ceiling, and there it is. A brown stain that wasn’t there last month. Or you step near the bathroom and the floor feels a little soft.

    Water is the number one enemy of an RV. A small drip you can’t see can soak into the walls and floor for months before you notice. By then the wood underneath can be rotten.

    The good news is most roof leaks start small and are easy to fix if you catch them early.

    Signs you have a leak

    • Stains or spots on the ceiling or walls
    • Peeling wallpaper or bubbling around windows and vents
    • Soft or spongy spots in the ceiling, walls, or floor
    • A musty or moldy smell
    • Wavy or bubbled outside walls
    • Water dripping, of course, but don’t wait for that

    Know your roof first

    Before you climb up or buy anything, find out what kind of roof you have. Your owner’s manual will say. The most common are:

    • Rubber (EPDM). Usually white or gray, a little soft to the touch.
    • TPO. Looks a lot like rubber but is a bit harder and shinier.
    • Fiberglass. Hard and smooth.
    • Aluminum. Metal, mostly on older RVs.

    This matters because sealants are made for certain roof types. The wrong one won’t stick, or it can damage the roof.

    Also check if your roof is safe to walk on. Some are, and some aren’t. The manual will tell you.

    Be safe up there

    • Use a sturdy ladder on flat ground.
    • Have someone with you.
    • Don’t go up when it’s wet, windy, or very hot.
    • Step only where the roof is made to hold you. Stay off skylights and vents.

    If you’re not comfortable on the roof, that’s fine. Pay an RV tech. A fall is a lot worse than a repair bill.

    Find where the water gets in

    Water usually shows up inside in a different spot than where it gets in. It runs along the roof and down inside the walls. So look above the stain and all around it.

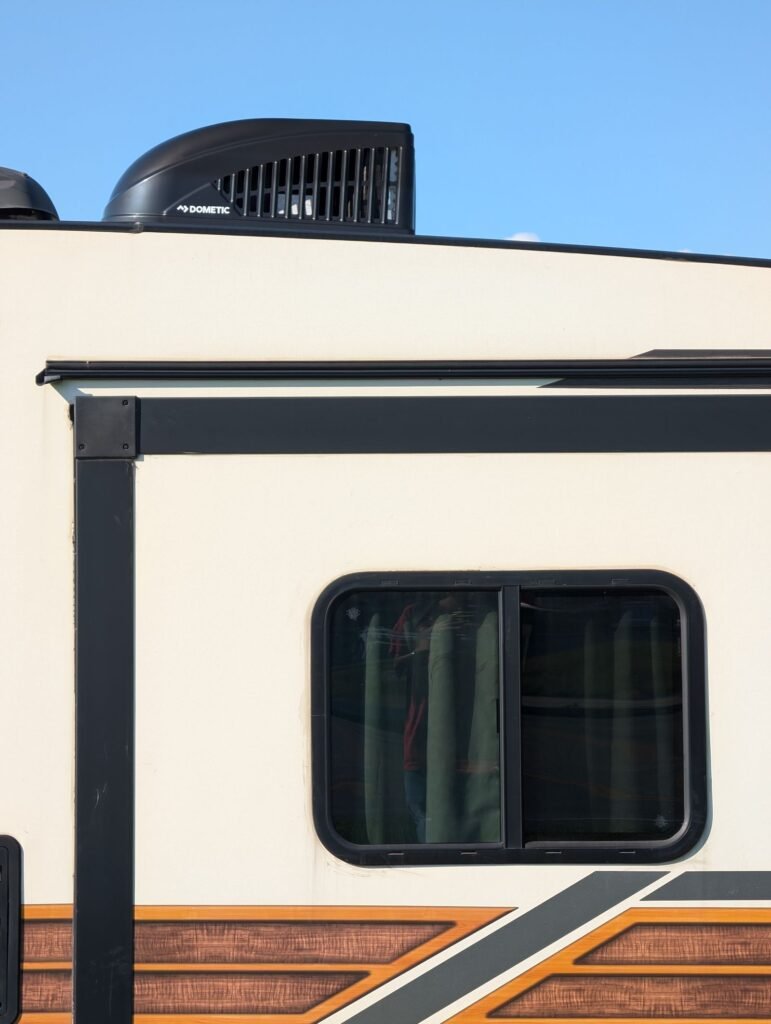
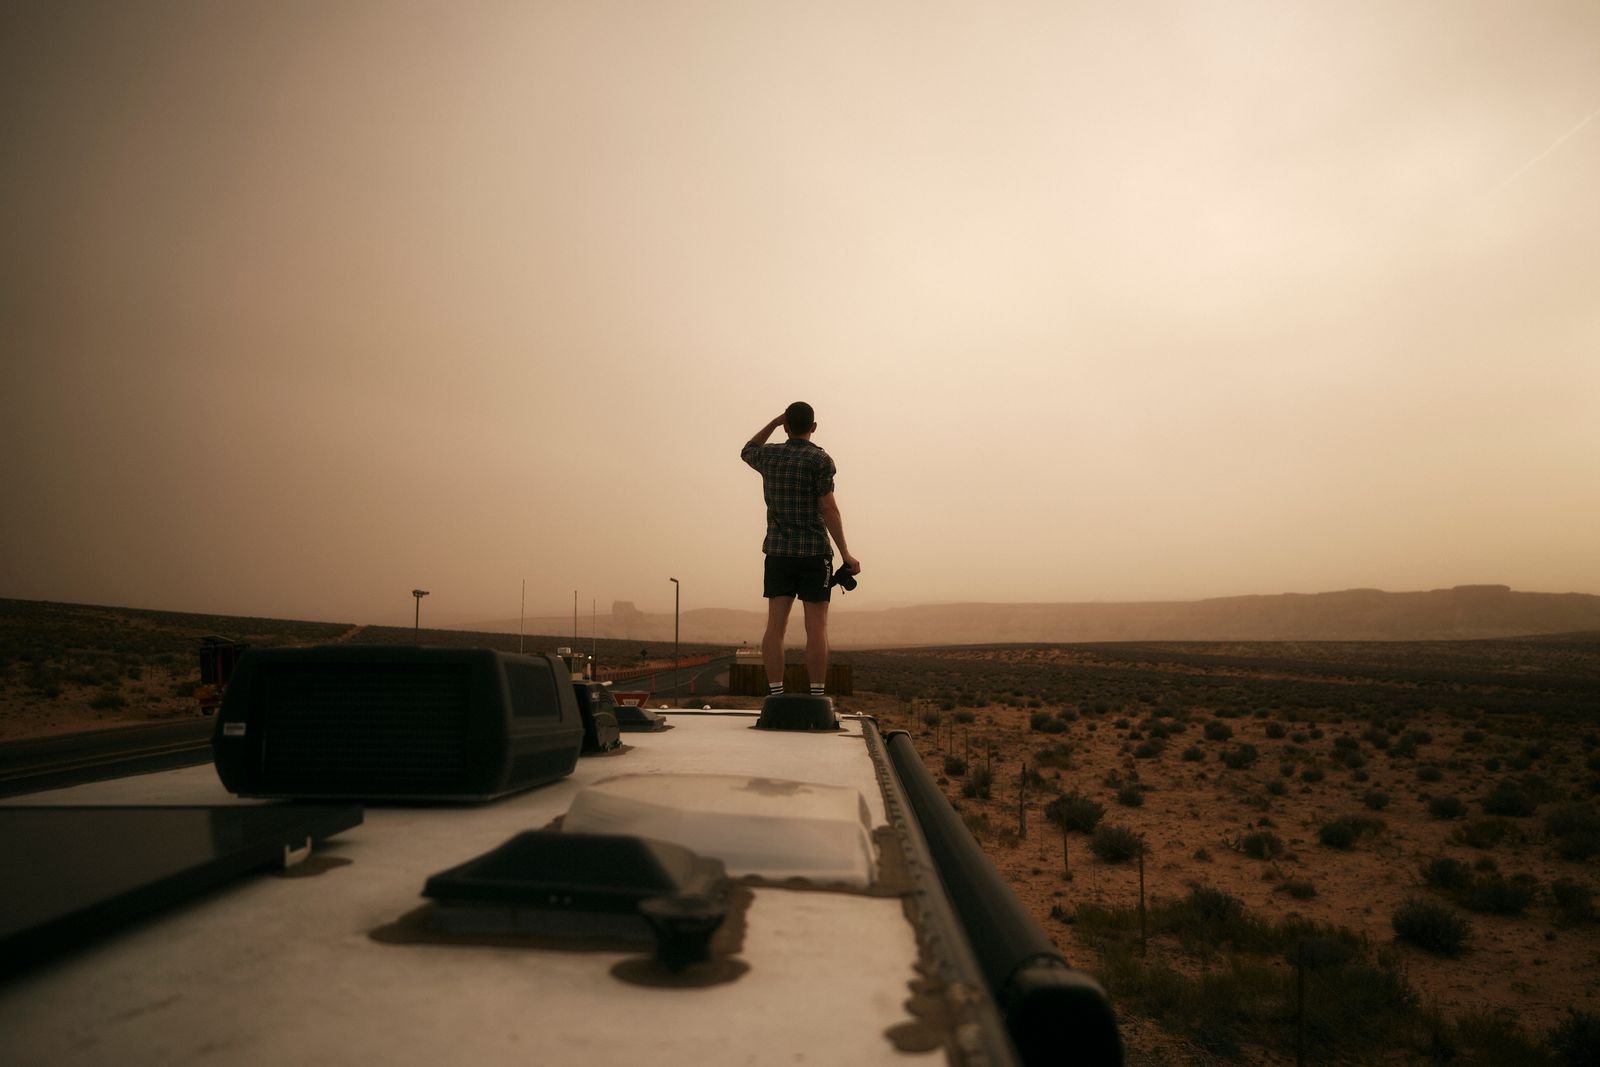
    RV air conditioner unit on the roof edge above a window
    Photo from Pexels

    Check these spots first, because this is where most leaks start:

    • Seams along the edges of the roof
    • Around roof vents and fans
    • Around the air conditioner
    • Around skylights
    • Antennas, satellite dishes, and anything screwed into the roof
    • The front and back caps where they meet the roof
    • Windows, lights, and trim on the sides of the RV

    Look for sealant that’s cracked, peeling, shrunk away from the edge, or missing.

    If you can’t find it, a helper inside and a garden hose outside can help. Spray one small area at a time, low pressure, starting low on the roof and moving up. Have your helper watch inside for drips.

    How to seal it

    For most small leaks around vents and seams, here’s the basic fix:

    1. Clean the area. Use a cleaner that’s safe for your roof type. Let it dry all the way.
    2. Remove loose sealant. Scrape off anything cracked or peeling with a plastic scraper. Don’t cut into the roof.
    3. Use the right sealant. On flat spots, use a self-leveling lap sealant made for your roof type. Dicor is a common brand. On walls and edges, use a non-sag sealant so it doesn’t run down.
    4. Cover it well. Lay a good bead over the seam or around the vent and past the edges of the old crack.
    5. For long seams, think about seam tape. Products like EternaBond tape cover a seam and hold up well. Clean the area first, and press it down firmly.

    Don’t use regular silicone caulk on an RV roof. It doesn’t hold well on most RV roofs, and new sealant won’t stick to it later. You’ll end up scraping it all off.

    When to call a pro

    Call an RV repair shop if:

    • The ceiling, walls, or floor are soft
    • The outside wall is bubbling or wavy
    • You see mold
    • You can’t find the leak

    Those can mean water has already gotten into the wood or the wall. Sealing the outside won’t fix rot inside. The sooner it’s fixed, the less it costs.

    Stop leaks before they start

    The best fix is the one you never have to make.

    • Check your roof often. At least a couple of times a year, and before and after a big trip.
    • Touch up sealant as soon as you see cracks.
    • Keep it clean. Leaves and dirt hold water on the roof.
    • Cover it or park it under a cover if you can, out of the sun and weather.
    • Look up inside, too. Glance at your ceiling corners every time you camp.

    A few minutes on the roof now can save you thousands later.

    Next step: See more how-to help in our Fixing Your RV section.

  • Where Can You Camp for Free in an RV?

    Where Can You Camp for Free in an RV?

    Campground fees add up fast. A few nights here, a week there, and suddenly the camping costs more than the gas.

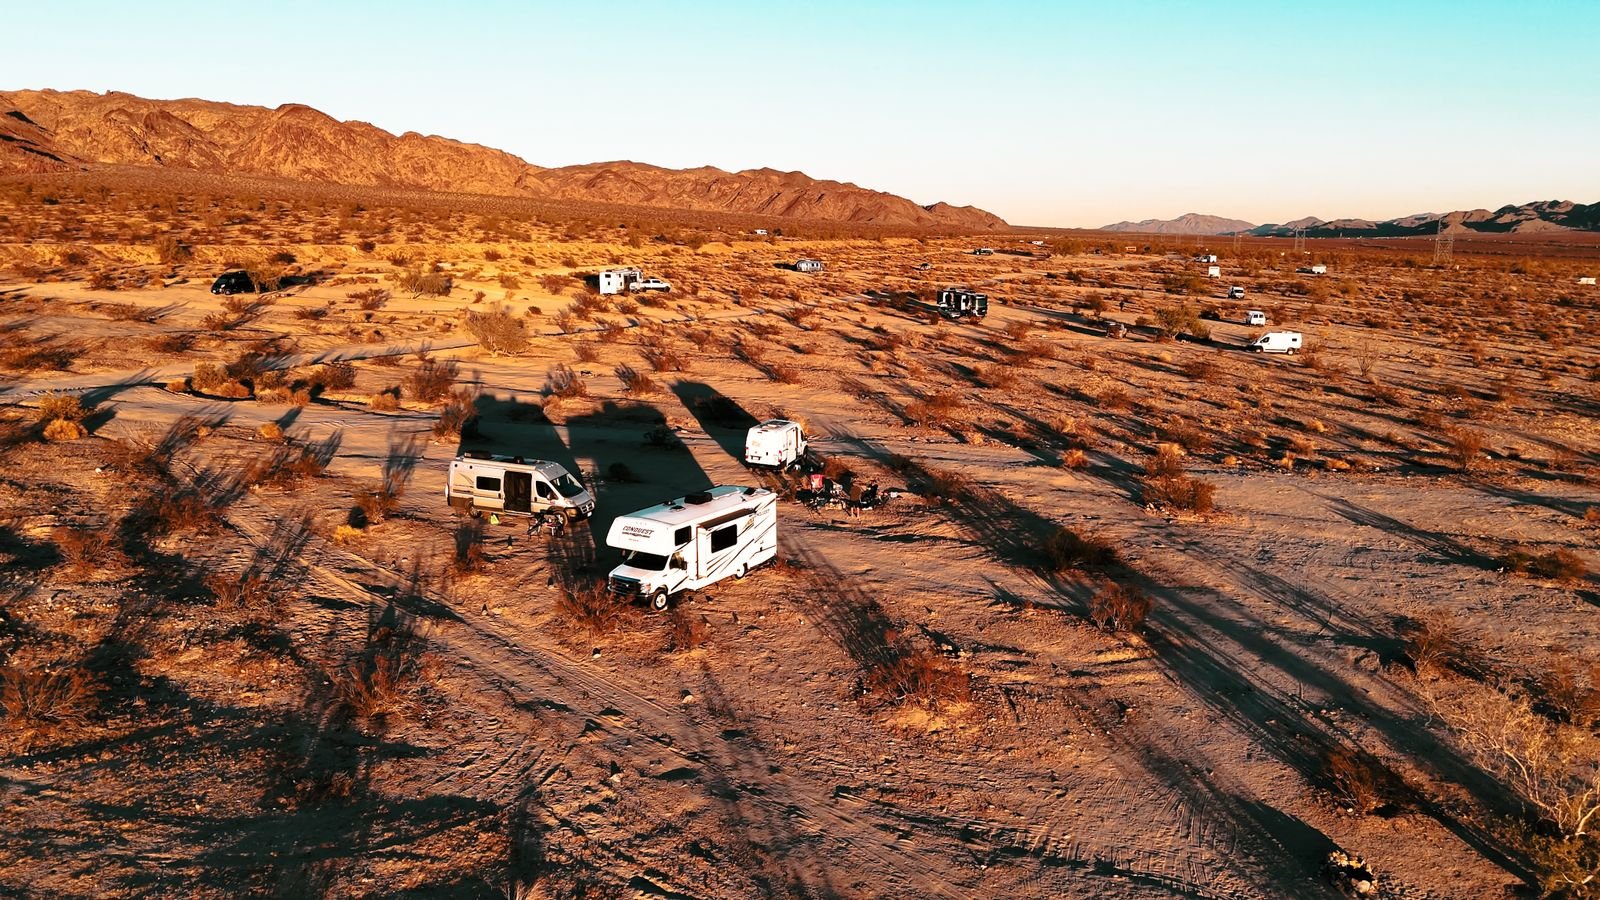
    Here’s the good news. There are lots of places in the U.S. where you can park your RV and camp for free. RVers call it boondocking or dry camping. It means camping without hookups. No power cord, no water hose, no sewer.

    It takes a little planning. But for a lot of people, it’s the best part of RVing. Quiet, open space, and stars you can’t see in town.

    Public land

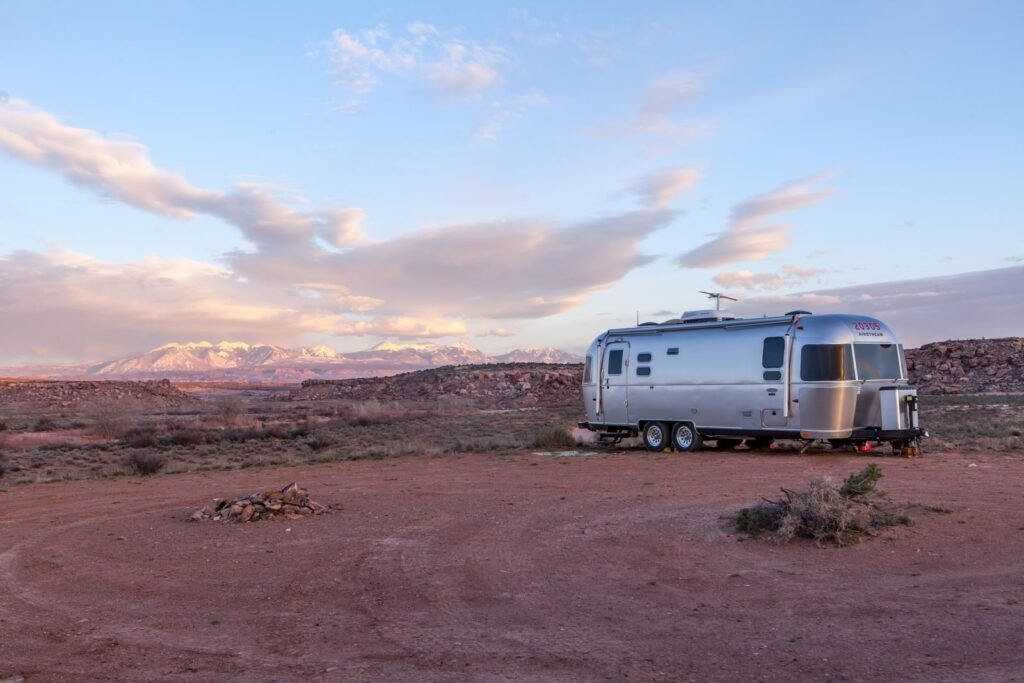
    Silver Airstream trailer camped alone in the desert
    Photo from Pexels

    This is where most free camping happens. A lot of land in the West belongs to the public, and much of it is open to camping. Arizona has plenty of it.

    BLM land. The Bureau of Land Management looks after huge areas of open land. Many of them allow free “dispersed camping,” which means you can camp outside of a set campground.

    National forests. Many national forests allow dispersed camping too, often along forest roads.

    A few rules you’ll see a lot:

    • Stay limits. Many areas let you stay about two weeks in one spot, then you have to move a good distance away. The exact rules change by area.
    • Use spots that are already used. Park where others have camped before. Don’t drive over plants or make new roads.
    • Fire rules. Fire bans are common, especially in dry seasons. Check before you light anything.

    Always check the rules with the local BLM or forest office before you go. They post them online, and they change.

    Store and business parking lots

    Some businesses let RVers park overnight. This isn’t camping. It’s a place to sleep on a long drive.

    You’ll hear about Walmart, Cracker Barrel, Cabela’s, Bass Pro, and some truck stops. But it depends on the store and the city. Some towns don’t allow it at all.

    If you try it:

    • Call or ask a manager first. Every time.
    • Park out of the way, away from the doors.
    • Don’t put out slides, chairs, or the awning.
    • Stay one night, buy something, and leave early.

    Being polite keeps these spots open for everyone.

    Other free or almost-free spots

    • Rest areas. Some states let you rest for a few hours. Others don’t allow overnight stays. Watch for the signs.
    • Casinos. Some allow RV parking. Call ahead and ask security.
    • Friends and family. Their driveway counts. Just ask first, and check their city and HOA rules.

    How to find spots

    You don’t have to guess. RVers share free spots online, with reviews, photos, and notes about the road in. Popular apps and sites include Campendium, iOverlander, and FreeRoam. Read the latest reviews. Road conditions and rules can change.

    Look at the road before you drive in. Some dirt roads are fine for a truck and a nightmare for a big trailer. If you’re not sure, park somewhere safe and walk or drive in with your tow vehicle first.

    Get your RV ready for no hookups

    Free camping means you bring everything with you. Here’s what to think about:

    Water. Fill your fresh water tank before you go. Learn to use less of it: short showers, and a water bottle at the sink.

    Power. Your RV batteries run the lights, water pump, and furnace fan. They won’t last forever. Many boondockers use a generator, solar panels, or both. Know your generator hours, since some areas have quiet hours.

    Tanks. Your gray and black tanks will fill up. Know how many days you can last, and where the closest dump station is.

    Trash. Pack out everything you bring in. Leave the spot cleaner than you found it.

    Cell signal. It can be weak or gone out on public land. Tell someone where you’ll be, and download maps before you lose service.

    Try it close to home first

    Your first night of boondocking doesn’t have to be far away. Pick a spot an hour or two from home, for one or two nights. You’ll learn how long your water and power last, and you can always drive home if something goes wrong.

    Next step: Look through our Places to Camp section for more ideas.

  • Should You Buy a New or Used RV?

    Should You Buy a New or Used RV?

    A shiny new RV on the lot smells great and has nothing worn out. A used one down the road costs a lot less and looks almost the same in photos.

    Both can be a smart buy. The right one for you comes down to your budget and how handy you are.

    The case for buying new

    You get a warranty. If something breaks in the first year or so, the dealer or maker is supposed to fix it. Read what it covers and for how long.

    You get to pick. Floor plan, colors, options. You’re not stuck with someone else’s choices.

    You know its history. Nobody else left the roof unsealed or the tanks full all winter.

    Easier loans. Banks are often happier to lend on a new RV.

    The downside is that new RVs lose value fast, mostly in the first few years. Drive it off the lot and it’s already worth less than you paid.

    New doesn’t mean perfect, either. Plenty of new RVs show up with loose trim, leaks, or things that don’t work. Your first few trips are often a shakedown. You find the problems, then wait for the dealer to fix them. Ask how long their service wait is before you buy.

    The case for buying used

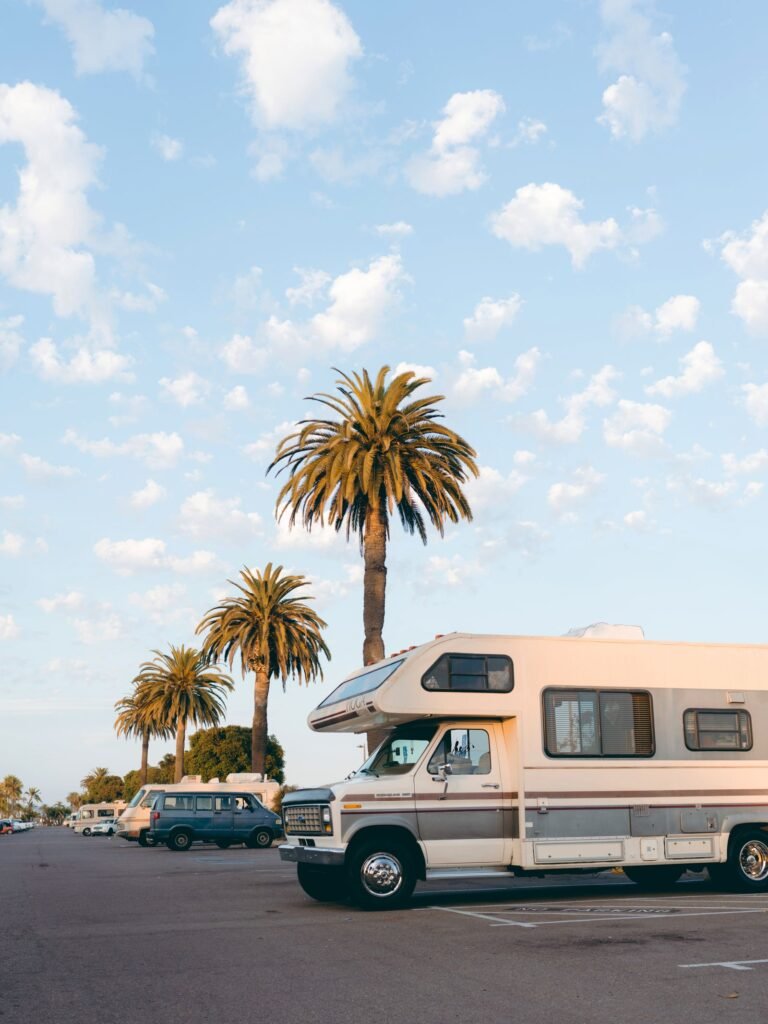
    Older Class C motorhome parked under palm trees
    Photo from Pexels

    It costs a lot less. Someone else already took that big early drop in value.

    The early bugs are often worked out. The first owner may have already found and fixed the factory problems.

    More RV for your money. For the price of a small new trailer, you might get a bigger or nicer used one.

    The downside is the unknown. You don’t know how it was stored, if it leaked, or if the owner kept up with the basics. A used RV can be a great deal or a money pit. The inspection is what tells you which.

    Many buyers look at RVs that are a few years old. That way most of the value drop is behind it, but it’s not worn out.

    What to check on a used RV

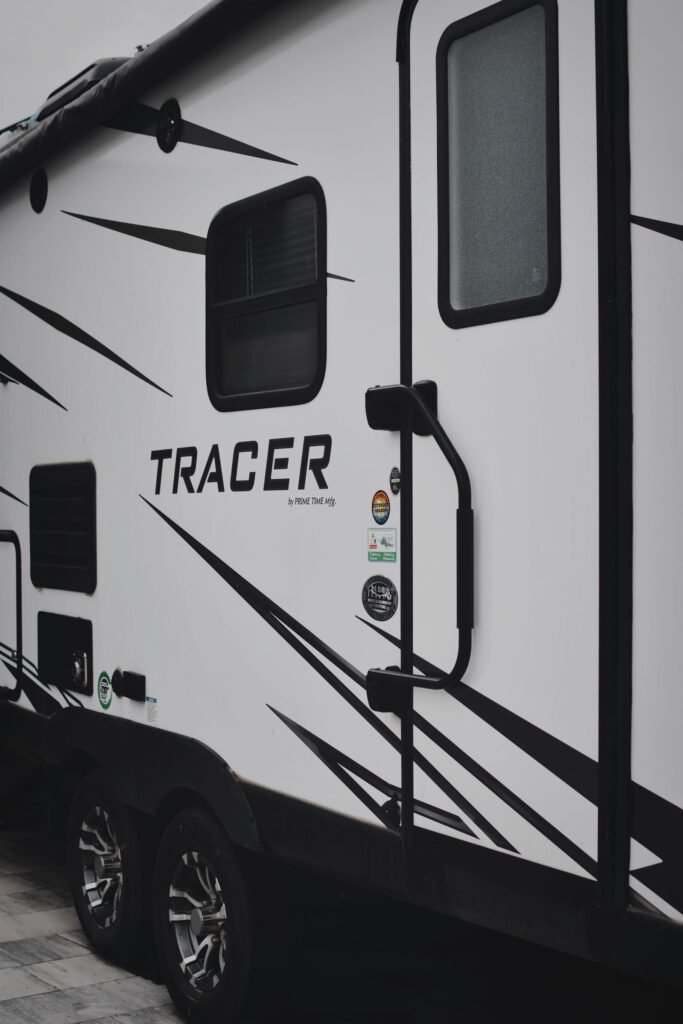
    Close-up of a travel trailer door, windows, and tires
    Photo from Pexels

    Bring a flashlight and take your time. Here’s what to look for:

    Water damage. This is the big one. Water damage is the most common and most expensive problem in RVs.

    • Look for stains on the ceiling and walls, mostly around windows, vents, and corners.
    • Press on the walls and floor. Soft or spongy spots mean rot underneath.
    • Look for bubbles or waves in the outside walls. That can mean the wall is coming apart from water.
    • Smell it. A musty smell is a warning sign.

    The roof. Climb up if it’s safe, or ask the seller for photos. Look for cracked or peeling sealant around every vent, seam, and the AC unit.

    Tires. Find the date code on the tire wall. The last four numbers are the week and year it was made. Old tires can fail even with lots of tread left, so plan to replace them if they’re getting up there in age.

    Everything that runs. Test the fridge on both gas and electric if it has both. Run the AC, furnace, water heater, water pump, and every light. Put the slides and awning out and back in.

    The paperwork. Ask for service records. Make sure the title is clean and the name matches the seller.

    Pay for an inspection

    Even if it looks great, hire an independent RV inspector before you hand over money. Look for one certified by the National RV Inspectors Association (NRVIA). Don’t use one the seller picks for you.

    An inspection costs some money up front. A roof leak that’s rotted a wall can cost thousands. It’s worth every penny.

    So which one is right for you?

    New might fit you better if:

    • You want a warranty and peace of mind
    • You don’t like fixing things
    • You plan to keep it a long time

    Used might fit you better if:

    • You want to spend less, or get more RV for the money
    • You’re handy, or you know someone who is
    • You’re still figuring out what kind of camping you like

    If you’re brand new to RVing, buying used and smaller can be a smart first step. You’ll learn what you really want. Then, if you upgrade later, you won’t lose as much when you sell.

    Next step: If you haven’t yet, read what to know before you buy your first RV.